When I got into 3D printing last year I saw a clever use of 3D printing QR codes for accessing your wifi password. That got me thinking of using a QR code in a different way: on a business card. I rarely need to use business cards but every now and then it would be handy to give one out.
The original design
So I started testing out the idea. I noticed a pretty big issue with the level of detail I could achieve with my printer and its nozzle. To print business cards I had to make the text and the QR code to be larger than I’d like. Which would be hard to fit on a normal sized business card. I mitigated the problem by printing text on both sides.
I placed the website-QR & company name on one side and name & phone number on the other. The text would extrude on one side and be cut out/indented on the other. This design was a bit cumbersome since I would need to change plastic roll three times during a print to handle the extruded and indented text. Good thing that I could print up to 10 at a time.
Before going to Nordic Game Conference 2018 I printed out about 18 of these cards and brought them with me. I already liked them alot myself but the response I got when handing them out still surprised me; people really loved them!
Not only did people make a note of the cards and mention how cool they were when I handed them out but one person I talked with months later actually mentioned my business card.
So not only is it a good way of giving people my contact info, it actually stands out above the rest and makes people remember you a little better. Which is a win in my book.
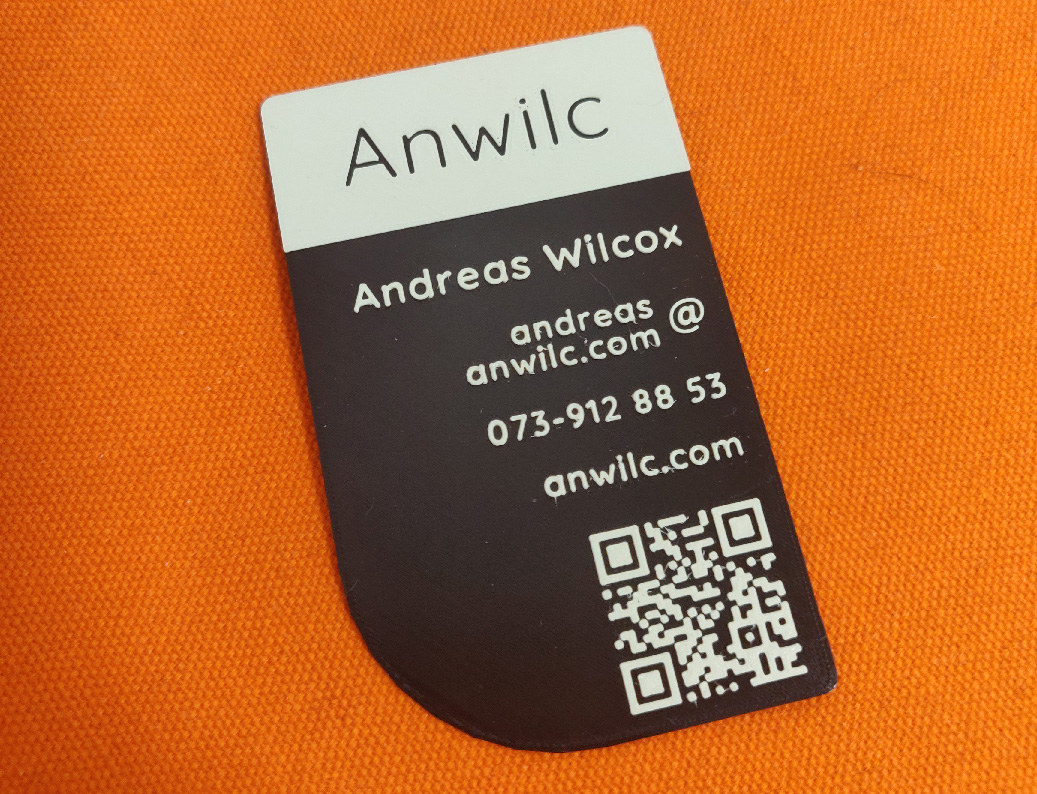
Version 2.0
So that brings me to this year. At the end of 2018 I got my hands on a smaller nozzle that would be able to make finer detail than the stock one I had. Which would mean I could make the text smaller and fit everything in more nicely.
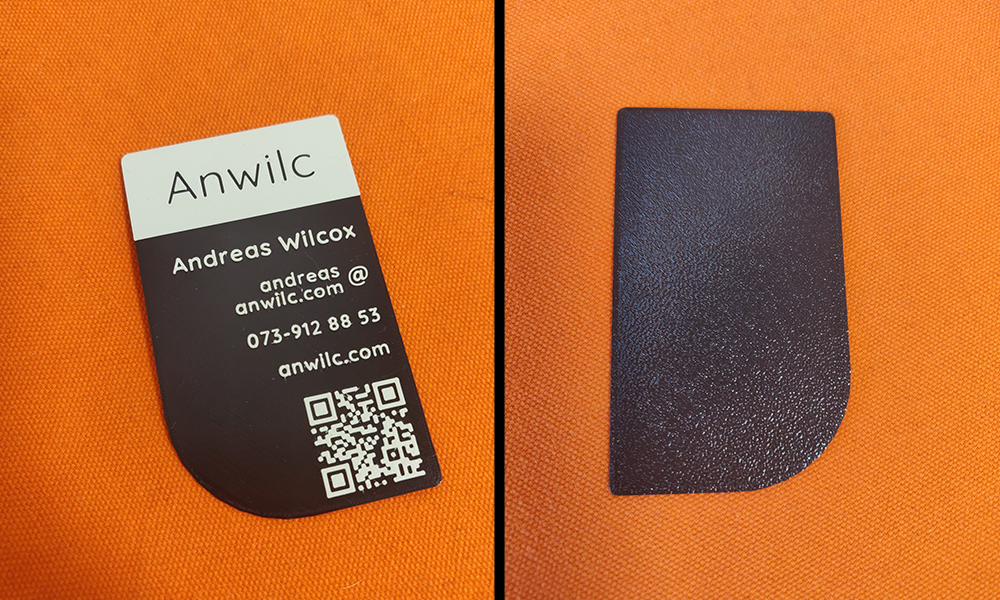
With that in mind I made a new design where I could fit all that text, including email (a sorely lacking piece of information on the last card) and the QR code on one side! Combined with a new print plate that gave the backside a nice textured look it only made sense to keep everything on the one side.
Not to mention I went from 3 changes of rolls down to only 1. Really, it was an improvement on all fronts. And this time I decided to switch the silver plastic to a creamy white color instead. And the result looks great if I may say so myself.
We’ll see what the response is for this new design but I’m really excited!